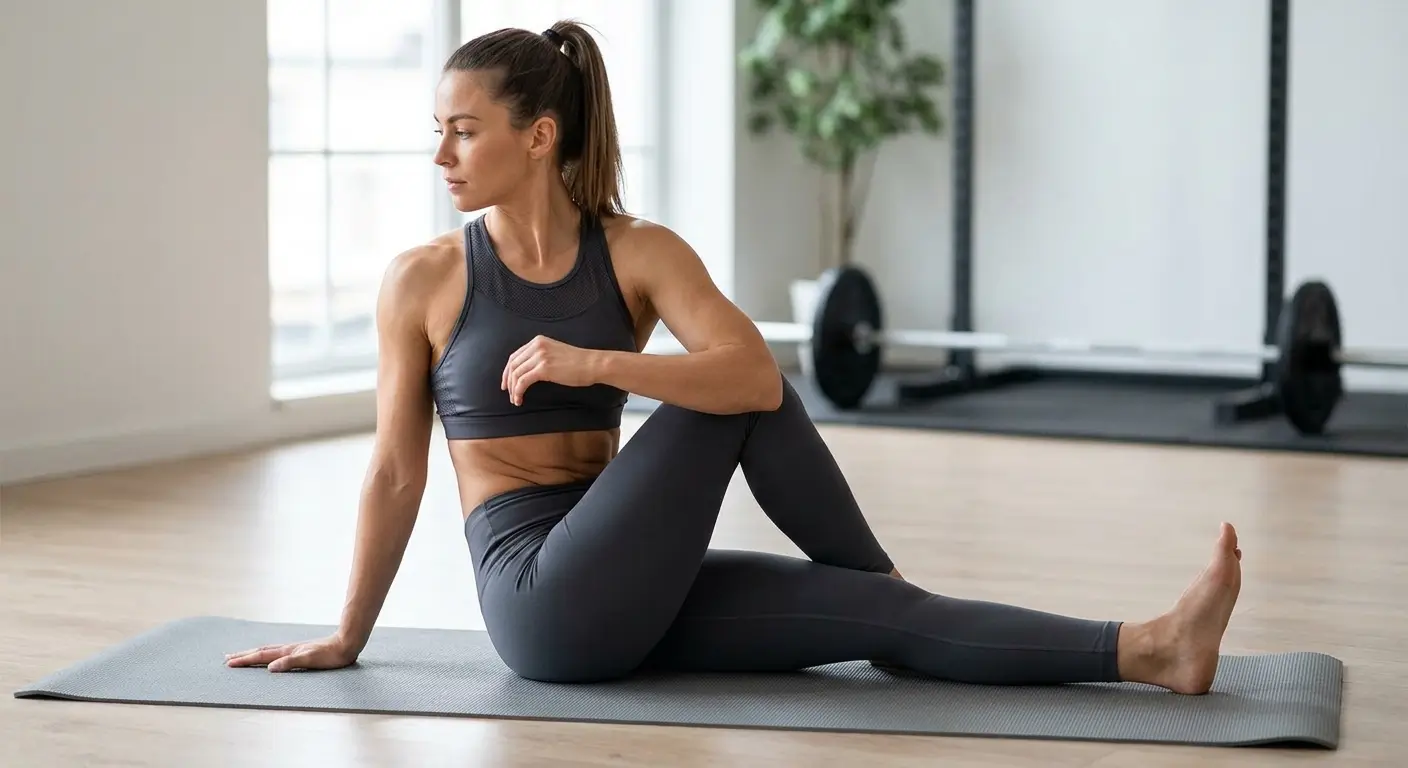
The Pilates criss-cross looks like a simple twist. In practice, it asks your abs to hold your spine steady while your chest rotates and your legs move at the same time. As a result, that combination makes it challenging, and it is why small form errors show up fast.
This guide covers the Pilates criss-cross: how to do it with clean technique, what it should feel like, and how to make it easier or harder. You will get exact sets, reps, tempo, and rest times, plus a short sample workout. All you need is a mat.
Because the move hits your waistline hard, it pairs well with our guide on how to flex your abs if you want to feel those muscles working. First, here is the short answer.
Quick Answer: The Pilates criss cross is a mat exercise where you lie on your back, lift your head and shoulders, and extend one leg while twisting your chest toward the bent knee. Keep your hips still, move slowly, and breathe steadily. Start with 6-8 reps per side for 2 sets.
What Muscles Does the Pilates Criss-Cross Work?
The Pilates criss-cross works your whole abdominal wall, but the obliques carry the heaviest load. In other words, these are the muscles along your sides that rotate and brace your torso. Meanwhile, your hip flexors and spinal stabilizers do important supporting work.
Primary and secondary muscles worked
| Role | Muscle | Job during the criss cross |
|---|---|---|
| Primary | External obliques | Rotate your ribcage toward the opposite hip |
| Primary | Internal obliques | Pair with the opposite external oblique to twist and brace |
| Primary | Rectus abdominis | Holds your head and shoulders in the curl |
| Primary | Transversus abdominis | Acts like a deep belt that keeps ribs and pelvis steady |
| Secondary | Hip flexors (iliopsoas, rectus femoris) | Hold the tabletop and swing each leg out |
| Secondary | Quadriceps | Straighten the extended leg |
| Secondary | Spinal stabilizers (multifidus, erector spinae) | Stop your spine from arching or rocking |
| Secondary | Neck flexors | Support the weight of your head |
In addition, holding the tabletop is a long isometric task for the hip flexors. Our guide to isometric leg exercises explains how static holds like this build endurance.
What the research says
First, researchers have measured the move directly. A paper in a peer-reviewed Brazilian sports science journal describes earlier work comparing the Hundred, criss-cross, double-leg stretch, roll-up, and teaser with a traditional curl-up. According to that paper on abdominal activity in traditional and Pilates-based exercises, the Pilates exercises recruited the abdominal muscles well enough to promote conditioning.
Rotation plus bracing also shows up in the bicycle maneuver. It topped the ranking of 13 common ab exercises in an ACE-sponsored study from San Diego State University. Still, the criss-cross is not identical to a bicycle crunch, but it shares the same twist-and-extend pattern. However, keep in mind that these studies measure muscle activity in a lab, not guaranteed long-term results.
Benefits of the Pilates Criss Cross
When used well, the criss-cross offers several practical benefits. We describe them cautiously, because no single move guarantees results.
Core and trunk benefits
- Rotational core strength. First, your obliques train through twisting, which straight-line moves such as planks challenge less.
- Better trunk control. You must keep the pelvis still while the ribcage turns and the legs move, so you practice coordinating upper and lower body.
- Low impact. Because there is no jumping and no equipment, stress on the knees and shoulders stays low for most people.
- Easy to scale. Also, leg height, tempo, and light weights change the difficulty without changing the move.
- A fit with strength guidelines. Adults should do muscle-strengthening activity on at least two days a week that works all major muscle groups, including the abdomen, according to the CDC adult activity guidelines.
What research says about Pilates and back pain
In addition, Pilates may help people with ongoing low back pain. A Cochrane review found low to moderate quality evidence that Pilates beats minimal intervention for pain and disability, but no conclusive evidence that it beats other exercise. Likewise, a systematic review in the Journal of Physical Therapy Science found that Pilates improved pain and function compared with usual care, while other exercise worked about as well.
However, those reviews studied full Pilates programs, not the criss-cross alone. If you have back pain, check with a doctor or physical therapist before adding this move.
Pilates Criss Cross: How to Do It Step by Step
Use a mat about 0.5 inches (1.3 cm) thick so your spine and tailbone stay comfortable. Wear fitted clothing so you can see your hips and knees move. Then follow these steps.
Get into position
Step 1: Set your starting position. Lie on your back with your knees bent, feet flat, and arms by your sides. First, let your spine rest in its natural curve. If your lower back feels tight, tilt your pelvis slightly so your low back feels heavy on the mat. Cue: heavy ribs, soft belly.
Step 2: Place your hands. Rest your fingertips behind your ears with your elbows wide enough to stay in your side vision. Do not interlace your fingers, because that makes it easy to yank on your neck.
Step 3: Float into tabletop. Next, lift one foot at a time until your knees stack over your hips and your shins are parallel to the floor.
Curl, twist, and switch
Step 4: Curl up. Then exhale, nod your chin slightly, and lift your head, neck, and shoulder blades off the mat. Leave about 2.5 inches (6 cm) between chin and chest, roughly the size of a tennis ball. Keep your eyes on your thighs.
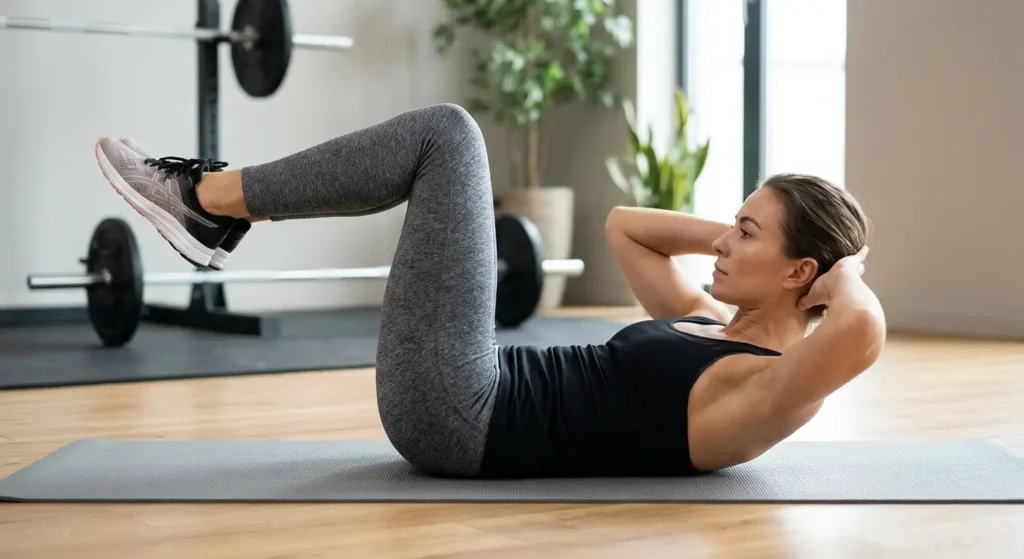
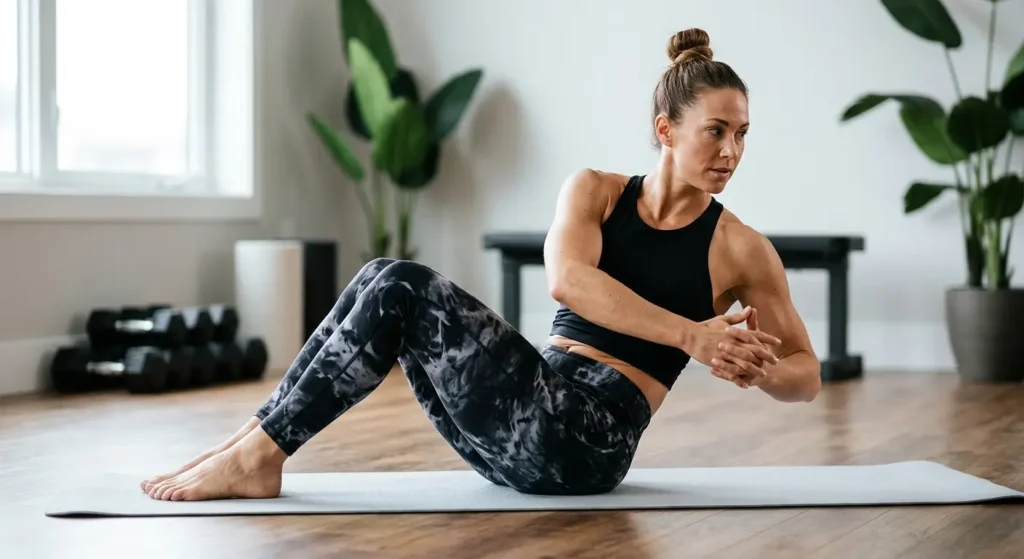
Step 5: Extend and rotate. Straighten your right leg to about a 45-degree angle. At the same time, rotate your ribcage so your right shoulder moves toward your left knee, keeping it bent over your chest. Turn from the ribcage, not just the elbow.
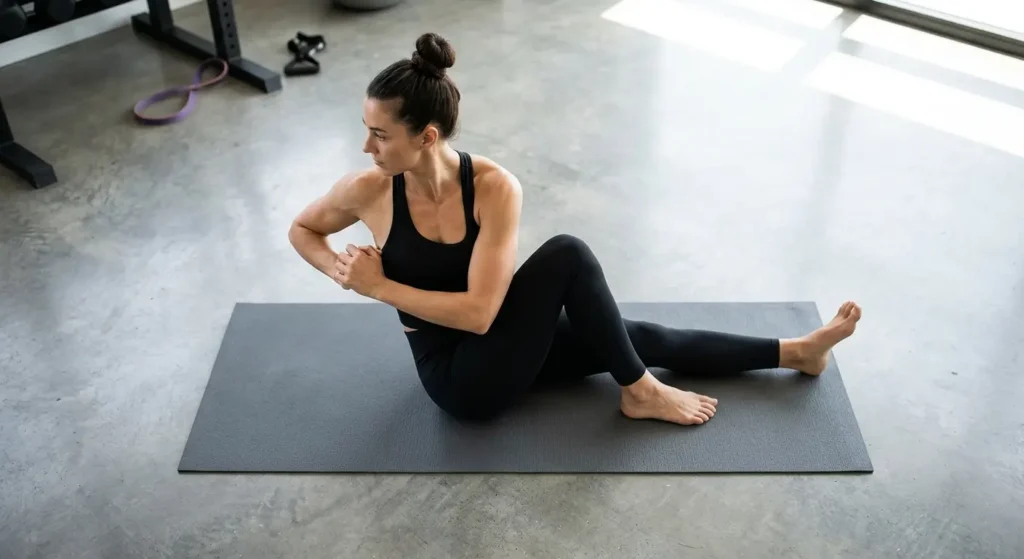
Step 6: Switch sides. Next, bend the right knee in, extend the left leg, and rotate your left shoulder toward your right knee. Count a slow two seconds per side. Exhale as you twist, and take a short inhale as you pass center.
Step 7: Finish. After your last rep, return to center, hug both knees to your chest, and lower your head. Afterward, rest 45-60 seconds before the next set.
What it should feel like
What it should feel like: a deep, controlled burn along your sides and the front of your belly. You should not feel pulling in your neck or pinching in your lower back. If you do, lower your difficulty using the variations below.
Coach’s tips and common errors
Coach’s Tip: Imagine a tray with a full glass of water balanced on your hips. Your chest turns, your legs move, and the glass never spills. In fact, slowing down to a three-second count per side is the fastest way to make the pelvis quiet.
Common Mistake: Pulling your head forward with your hands. Instead, your hands only cradle the weight of your head. If your elbows drift in front of your face, the neck takes over and the abs switch off.
Sets, Reps, and Load by Goal
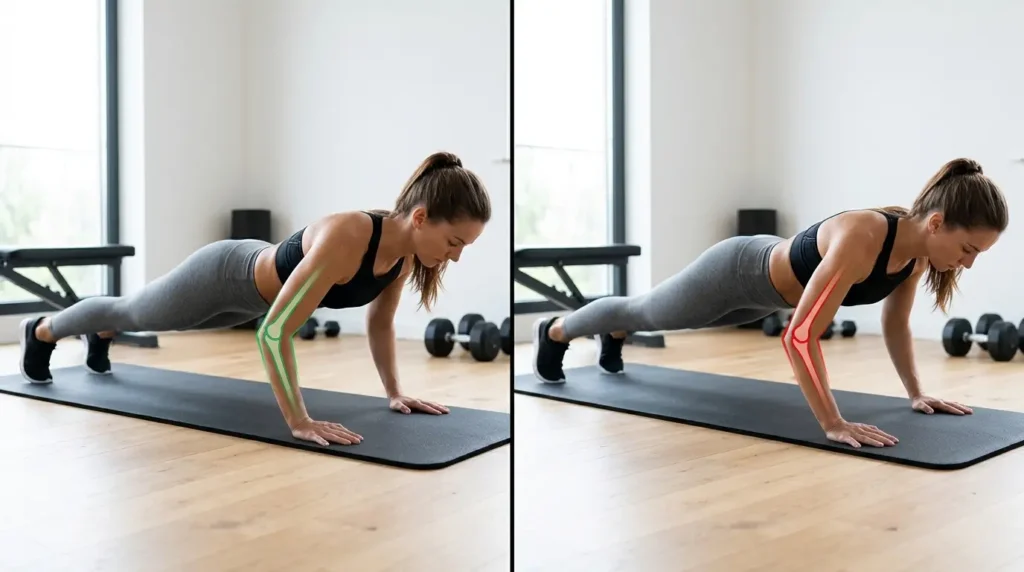
One rep means a twist to one side, so the table lists reps per side. Also, stop a set when your form breaks, not when you hit a number.
| Goal | Sets | Reps per side | Tempo | Rest | Load |
|---|---|---|---|---|---|
| Learn the form | 2 | 5-6 | 3 sec per side | 60 sec | Bodyweight, higher leg |
| Strength | 3 | 8-10 | 3 sec per side, 1-sec pause | 45-60 sec | Bodyweight or a 2-3 lb (0.9-1.4 kg) weight held at the chest |
| Muscle | 3 | 10-12 | 2 sec per side | 45 sec | Bodyweight, lower leg |
| Endurance | 2-3 | 15-20 | 1-2 sec per side | 30 sec | Bodyweight |
Overall, aim for two or three non-consecutive days a week. That schedule also meets the two-day strength target in the CDC guidelines mentioned above. Because abs recover quickly but your neck and hip flexors may not, avoid stacking maximum-effort sessions on back-to-back days.
Common Pilates Criss Cross Mistakes and Fixes
Most problems come from rushing or from trying to reach too far. However, each one has a simple fix.
| Mistake | Why it happens | Fix |
|---|---|---|
| Pulling on the head | Abs tire, so the hands help | Keep elbows wide; rest your head between sets |
| Rocking the hips side to side | The twist comes from the legs, not the ribs | Slow to three seconds per side and shrink the range |
| Touching elbow to knee | Chasing the knee instead of rotating | Turn the shoulder blade off the mat, even if the elbow stays far away |
| Arched lower back | The extended leg is too low | Raise the leg higher until your low back stays heavy |
| Jamming the chin to the chest | Neck fatigue | Keep a tennis-ball gap and look at your thighs |
| Holding your breath | Concentration | Exhale with each twist, and inhale briefly at center |
| Rushing the reps | Momentum feels easier | Count out loud, one-and-two per side |
Pilates Criss Cross Variations: Easier to Harder
Every body is different, so scale the Pilates criss-cross to match your neck, hips, and core strength. Change only one variable at a time. Then move up when you can finish three sets of ten reps per side without neck strain or hip rocking.
Easier versions (regressions)
- Head-down, legs-only criss-cross. Keep your head and shoulders on the mat and alternate only the leg extension. This removes neck load while you learn pelvic control. Do 2 sets of 8 per side.
- Feet-down twist. Keep both feet flat, curl up, and rotate your shoulder toward the opposite knee. Your legs stay still, so your abs focus on rotation.
- High-leg criss-cross. Extend the leg to about 60 degrees instead of 45. As a result, a higher leg shortens the lever and protects your lower back.
Harder versions (progressions)
- Low-leg criss-cross. Lower the extended foot to about 12 inches (30 cm) above the mat, but only as far as your lower back stays heavy.
- Paused criss-cross. Hold each twist for two seconds. This adds an isometric challenge to every rep.
- Weighted criss-cross. Hold a 2-3 lb (0.9-1.4 kg) weight at your chest with both hands and elbows wide. Skip this version if your neck tires before your abs do.
Alternatives to the Pilates Criss Cross
If the criss-cross bothers your neck, or you want a different setup, these swaps train the same rotation pattern. You also do not need fancy gear. Research on the Pilates teaser and long spine found that mat versions required greater rectus abdominis activation than some apparatus versions.
Exercise swaps by equipment
| Setup | Exercise | Sets x reps | Starting load |
|---|---|---|---|
| No equipment | Bicycle crunch | 3 x 10-12 per side | Bodyweight |
| No equipment | Dead bug | 3 x 8 per side | Bodyweight |
| Dumbbell | Russian twist | 3 x 10 per side | 5-10 lb (2.3-4.5 kg) |
| Cable | Cable woodchop | 3 x 10-12 per side | About 10 lb (4.5 kg), then adjust |
| Cable | Pallof press | 3 x 10 per side | About 10 lb (4.5 kg), then adjust |
| Machine | Rotary torso machine | 3 x 12 per side | Lightest setting you can twist slowly |
Next, for more bodyweight options, browse our calisthenics exercises list. If you like loaded hip work, see whether kettlebell swings work abs. Meanwhile, our breakdown of whether pull-ups work abs shows what to expect from hanging moves.
Who Should Be Careful With the Pilates Criss Cross
The criss cross combines spinal curling, twisting, and a held head position. Therefore, some people should modify it or skip it until a professional clears them.
- Neck pain or a recent neck injury
- Low back pain or disc problems
- Pregnancy or the postpartum period, including abdominal separation
- A hernia or recent abdominal surgery
- Osteoporosis or a history of spine fractures
- Dizziness or high blood pressure, where holding your breath is risky
Check with a doctor or physical therapist before starting if any of these apply. Stop right away if you feel sharp pain, numbness, or tingling.
Also, beginners deserve extra patience. A study of women new to mat Pilates found uneven trunk-muscle coordination across five exercises, and the authors suggest performing them only after learning the method’s principles, according to the abstract of the UNESP study. In short, learn the basics first and add the Pilates criss-cross after.
Sample Workout Using the Pilates Criss-Cross
This 15-minute routine builds toward the Pilates criss-cross and balances it with other core work. Do it two or three days a week. Rotational athletes can also pair it with our baseball core workout.
Warm-up (3 minutes): 10 pelvic tilts, 8 cat-cows, and 6 open-book rotations per side.
| Exercise | Sets | Reps | Rest |
|---|---|---|---|
| Bent-knee Hundred | 1 | 50 arm pumps | 30 sec |
| Single-leg stretch | 2 | 8 per side | 30 sec |
| Pilates criss cross | 3 | 6-8 per side | 45-60 sec |
| Dead bug | 2 | 8 per side | 30 sec |
| Bird dog | 2 | 8 per side | 30 sec |
| Side plank, knees down | 2 | 20-30 sec per side | 30 sec |
Cool-down (2 minutes): child’s pose for 30-45 seconds, then a supine spinal twist for 30 seconds per side.
Weekly plan and progression
Four-week progression:
- Week 1: head-down criss-cross, 2 sets of 5 per side
- Week 2: standard criss-cross, 2 sets of 6-8 per side
- Week 3: standard criss-cross, 3 sets of 8 per side
- Week 4: low-leg or paused version, 3 sets of 8-10 per side
Pair it with cardio
However, abs work is only one piece. Adults also need at least 150 minutes of moderate-intensity aerobic activity a week, according to the CDC. Our look at whether a treadmill burns belly fat can help you plan that side. If you enjoy this style of training, try our Pilates chair workout next.
FAQ: Pilates Criss-Cross Questions
How do you do a Pilates criss-cross correctly?
Lie on your back, hands behind your head, legs in tabletop. Then curl your head and shoulders up, extend one leg to about 45 degrees, and rotate your chest toward the bent knee. Switch sides slowly, keep your hips still, and exhale on each twist. Start with two sets of five to six reps per side.
What muscles does the Pilates criss-cross work?
The Pilates criss-cross mainly works the external and internal obliques, rectus abdominis, and transversus abdominis. Your hip flexors, quadriceps, spinal stabilizers, and neck flexors assist. The twist and the leg movement together make the obliques and deep core work to keep your pelvis steady.
Is the Pilates criss-cross the same as a bicycle crunch?
They are close cousins but not identical. Both combine a curl, a twist, and alternating legs. However, the Pilates version is usually slower, keeps the legs in a controlled line, and stresses a still pelvis and steady breathing. The bicycle crunch is typically faster, with the knees pedaling closer to the chest.
How many criss-cross reps should a beginner do?
Beginners can start with two sets of five to six reps per side, resting 60 seconds between sets. Move slowly, about three seconds per side. Then add reps only when your neck stays relaxed, and your hips stay still. Aim for two or three non-consecutive days a week.
Why does my neck hurt during criss-crosses?
Neck strain usually means your hands are pulling your head forward, your chin is jammed into your chest, or your abs are tired. Keep elbows wide, leave a tennis-ball gap under your chin, and rest your head down between sets. If pain is sharp or persistent, stop and see a doctor or physical therapist.
How do I make the Pilates criss-cross harder?
Lower the extended leg to about 12 inches (30 cm) above the mat, slow each twist to three seconds, or pause for two seconds at each side. You can also hold a 2 lb (0.9 kg) weight at your chest. Change only one variable at a time and keep your hips quiet.
Final Thoughts on the Pilates Criss Cross
The Pilates criss-cross rewards patience. First, set up with wide elbows and a tennis-ball gap under your chin, rotate from the ribcage, and keep your pelvis quiet like a tray with a full glass of water. Then scale the move with leg height, tempo, and light weight.
Start with two sets of five to six reps per side, two or three days a week, and add difficulty only when your form stays clean. If anything hurts, drop to an easier version or ask a professional. Overall, the Pilates criss-cross is a simple, equipment-free way to train your obliques and core.
