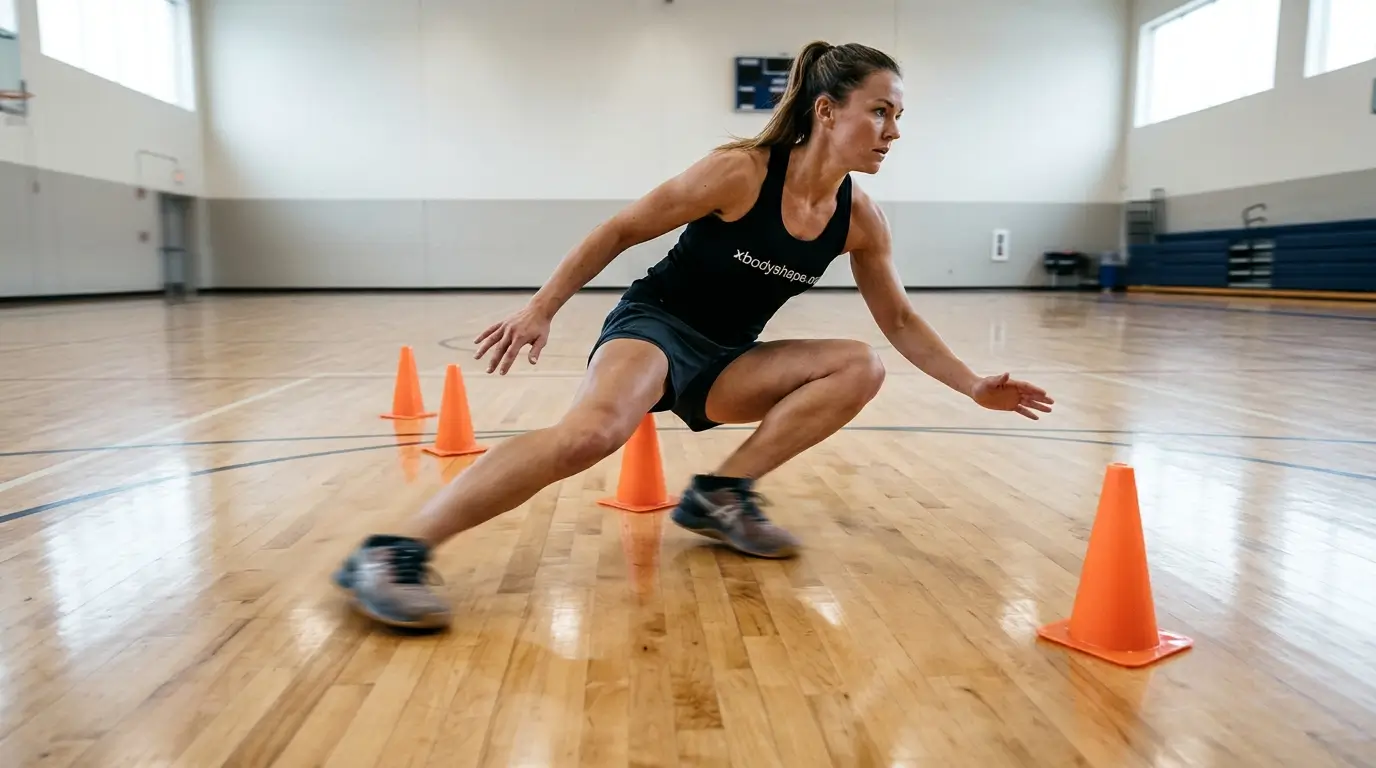
You can have a great jump shot and still fade in the last five minutes. Basketball conditioning drills fix that problem by training your body for the real pattern of the game: sprint, stop, slide, jump, recover, and repeat.
This guide gives you 12 drills with sets, reps, rest times, form cues, and easier and harder versions. After the drills, you’ll find a weekly plan, safety tips, and answers to common questions. Everything is written for high school and recreational players who want to play harder for longer.
Quick Answer: The best basketball conditioning drills mix short sprints, defensive slides, jumps, and easy aerobic running. Top five: full-court sprint intervals, defensive slide shuttles, line sprints, jump rope intervals, and closeout-and-recover reps. Do two or three sessions a week with rest between, and add intensity slowly.
Why Basketball Conditioning Drills Matter
Basketball is not a steady-state sport. In fact, a systematic review in Sports Medicine found that players cover roughly 3-4 miles (5-6 km) during 40-minute games. Their average intensity sits above lactate threshold and above 85% of maximum heart rate.
That is a lot of work packed into short bursts. Because of this, jogging laps alone will not prepare you, and well-built basketball conditioning drills fill that gap. Instead, your training should copy the game: hard efforts, short breaks, and quick changes of direction.
Research supports this approach. For example, a 2025 meta-analysis of HIIT in basketball players reported improvements in endurance, power, and change-of-direction ability. However, the authors also noted that effects on shooting and passing were inconsistent. For that reason, conditioning should sit alongside skill work, not replace it.
Conditioning also protects you. Ankle sprains are the most common injury in NCAA men’s basketball, and the authors say neuromuscular training may help prevent some of them. Therefore, strong legs and good landing mechanics are part of staying on the court.
How to Use These Basketball Conditioning Drills
Before you start, learn the three tools you will use in every drill.
- Work-to-rest ratio: A 1:3 ratio means 10 seconds of work, then 30 seconds of rest. Sprint drills need longer rest so every rep stays fast.
- Effort level: “Hard” means about 8 out of 10 effort, while “all-out” means 9-10 out of 10. Save all-out effort for short bursts.
- Quality over quantity: If your form falls apart, stop the set. Sloppy reps build bad habits and raise injury risk.
Begin with the easier version of each drill. Then move to the harder version once you can finish every set with good form.
12 Basketball Conditioning Drills
1. Easy Aerobic Jog (Your Base)
How to do it: Jog at a pace where you can speak in short sentences for 15-20 minutes, covering about 1-2 miles (1.6-3.2 km). Keep your shoulders relaxed and your steps light.
Sets/reps: One continuous run, once or twice per week.
Why it works: A solid aerobic base helps you recover between sprints, so it makes your hard drills more effective. It also suits days when your legs feel heavy from lifting, as covered in our guide to running after leg day.
- Easier: Alternate 2 minutes of jogging with 1 minute of walking.
- Harder: Add four 20-second strides (fast but smooth) in the last 5 minutes.
2. Line Sprints (Baseline Touches)
How to do it: Start on the baseline. First, sprint to the free-throw line, touch it, and sprint back. Next, repeat the same pattern to half court, the far free-throw line, and the far baseline.
Sets/reps: 2-4 rounds, resting 90-120 seconds between rounds.
Why it works: Line sprints train stopping and starting, which happens on every fast break and defensive stop. Lower your hips before each turn, and then push off the outside foot.
- Easier: Stop at half court and do 4 rounds with 2 minutes of rest.
- Harder: Cut rest to 75 seconds, or add a defensive slide on each return trip.
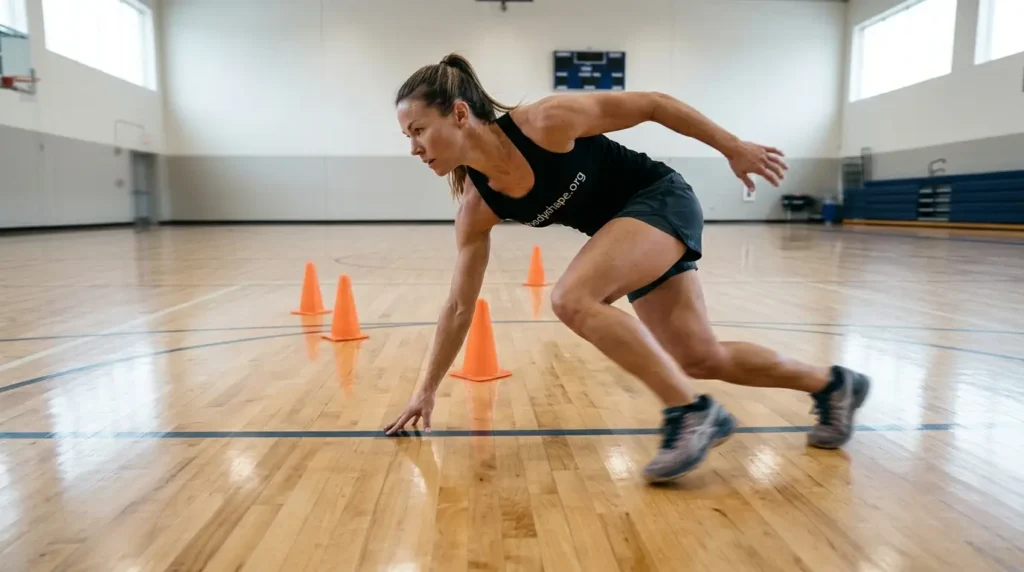
3. Full-Court Sprint Intervals
How to do it: Sprint from baseline to baseline at about 90% effort. Then walk back slowly and repeat.
Sets/reps: 8-10 sprints with a 20-30 second walk-back. After every fifth sprint, rest a full minute.
Why it works: This is repeated sprint training in its simplest form. As a result, you build the ability to run hard again and again, just like a game with many fast breaks.
Coach’s Tip: Run your first sprint at the speed you plan to hold on the last one. If you start too fast, you will fade by rep five, and the drill stops being useful.
- Easier: 6 sprints at 80% effort with 45 seconds of rest.
- Harder: 12 sprints with a 20-second walk-back, or dribble a ball on every other sprint.
4. Defensive Slide Shuttles
How to do it: Get into a low stance with your feet wider than your shoulders and your chest up. Slide sideways from the sideline to the lane line, touch the floor, and slide back. Never cross your feet.
Sets/reps: 4-6 rounds of 20 seconds of work followed by 40 seconds of rest.
Why it works: Slides train your quads, glutes, and hips for sideways movement. Because the legs burn quickly here, this drill builds game-like endurance.
Common Mistake: Standing up between slides. When your hips rise, you lose your stance and slow down. Instead, keep your thighs working and your head level the whole time.
- Easier: Slide 10 seconds on, 30 seconds off.
- Harder: Add a sprint to half court after every third round.
5. Closeout-and-Recover Reps
How to do it: Sprint from the baseline to the free-throw line, then take short, choppy steps and raise a hand as if you were closing out on a shooter. After that, slide back to the baseline and go again.
Sets/reps: 3 sets of 6 reps, resting 60-90 seconds between sets.
Why it works: Closeouts teach you to slow down under control. Since many ankle and knee injuries happen during stopping and cutting, practice at a speed you can manage.
- Easier: Jog the closeout at half speed until the footwork feels natural.
- Harder: Finish each rep with a vertical jump, as if you were contesting the shot.
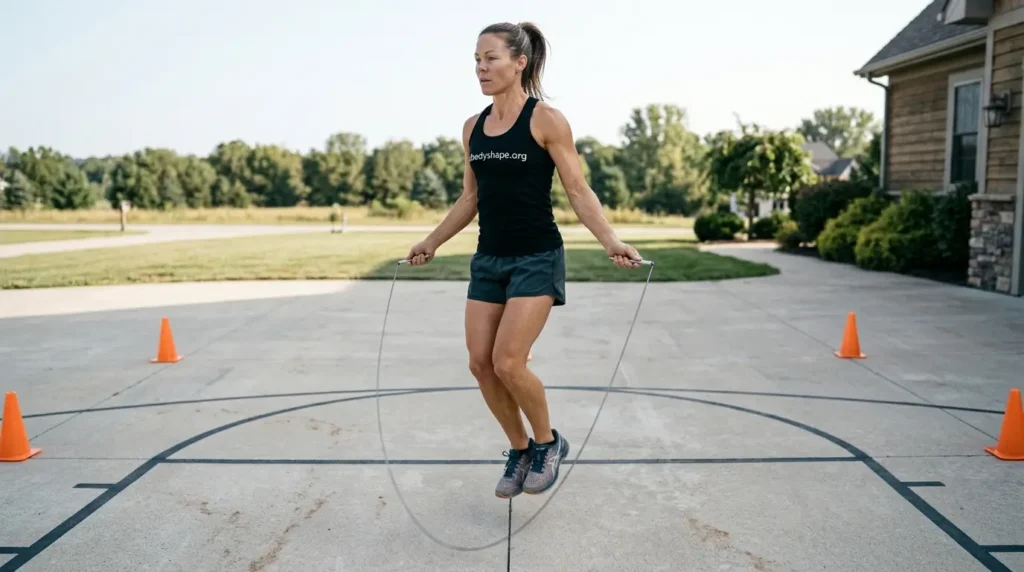
6. Jump Rope Intervals
How to do it: Use a small, quick two-foot bounce and stay on the balls of your feet. Keep your elbows near your ribs, and turn the rope with your wrists.
Sets/reps: 6-8 rounds of 30 seconds on and 30 seconds off.
Why it works: Jump rope builds calf endurance, rhythm, and foot speed with almost no equipment. It also doubles as a warm-up or a small-space option at home.
- Easier: 20 seconds on, 40 seconds off, or step over a slowly turning rope.
- Harder: Hop on one leg for 10 seconds per side, or try double-unders.
7. Squat Jumps and Box Jumps
How to do it: For squat jumps, lower into a quarter squat, swing your arms, and jump as high as you can. Land softly with bent knees and hips back. For box jumps, jump onto a sturdy box 12-24 inches (30-61 cm) high, and then step down.
Sets/reps: 3 sets of 5-6 jumps, resting 90 seconds between sets.
Why it works: Jumping drills train your quads, glutes, and calves to produce power. Because late-game rebounds still matter, keep reps low and crisp instead of tired and sloppy.
Coach’s Tip: Step down from the box instead of jumping down. Stepping keeps extra stress off your knees and Achilles tendons.
- Easier: Bodyweight squats with a heel raise at the top.
- Harder: Pause for one second at the bottom of each squat jump, or use a higher box if landings stay quiet.
8. Lateral Skater Bounds
How to do it: Stand on your right leg. Push off, bound sideways to your left leg, and land softly. Hold for one second before bounding back.
Sets/reps: 3 sets of 8 bounds per side, resting 60 seconds.
Why it works: Skater bounds train single-leg control and ankle stability, which you need for cutting, landing, and changing direction. For an extra balance challenge, see our guide on BOSU ball benefits.
- Easier: Shorten the bound and pause longer on each landing.
- Harder: Bound farther, or add a quick dribble on each landing.
9. Dribble-and-Sprint Circuit
How to do it: Set up four cones in a square about 5 yards (4.6 m) apart. At each cone, use a different move: crossover, between the legs, behind the back, and hesitation. Then sprint through the last gap.
Sets/reps: 4-6 rounds, resting 45-60 seconds.
Why it works: Conditioning does not always carry over to shooting and passing, so this drill adds ball skills under fatigue. Meanwhile, you practice making good decisions when your legs and lungs are working.
- Easier: Use one dribble move and rest 90 seconds.
- Harder: Finish each round with a layup or a catch-and-shoot rep.
10. Mountain Climbers
How to do it: Start in a high plank with your hands under your shoulders. Drive one knee toward your chest, and then switch legs quickly. Keep your hips low and your core braced.
Sets/reps: 4 sets of 30 seconds, resting 30 seconds.
Why it works: This drill raises your heart rate with no equipment and builds core stability. Since it needs very little space, it is also a good pick for conditioning at home.
- Easier: Slow the pace and place your hands on a bench or couch.
- Harder: Slide your feet on a towel, or extend each set to 45 seconds.
11. Battle Rope Waves
How to do it: Hold one end of the rope in each hand and sit into a slight squat. Make alternating waves while keeping your core tight. Beginners should choose a rope about 1.5 inches (3.8 cm) thick.
Sets/reps: 6 rounds of 20 seconds on and 40 seconds off.
Why it works: Battle ropes build shoulder, arm, and core endurance without pounding your joints. You can learn more in our battle rope benefits guide.
- Easier: Use single waves with 15 seconds on.
- Harder: Add squat waves or jump slams in the last two rounds.
12. Hill or Stair Sprints
How to do it: Find a gentle hill or a flight of stairs. Sprint up for 8-10 seconds, and then walk down slowly. Pump your arms and keep your chest tall.
Sets/reps: 6-8 sprints, walking down and waiting another 30 seconds before the next one.
Why it works: Hills force you to push harder on each step, so they build leg power and speed. Also, because you move more slowly than on flat ground, the impact can feel gentler.
- Easier: Walk fast up the hill for 20 seconds.
- Harder: Take two stairs at a time, or add 2 sets of 4 sprints.

Weekly Plan for Basketball Conditioning Drills
Match your basketball conditioning drills to your schedule. In the off-season, you can train three days a week. During the season, however, one or two light sessions are usually enough because practices and games already count as conditioning.
Warm-Up (8-10 Minutes)
First, start with light jogging or jumping jacks. Then add leg swings, lunges, and high knees. If you want to see what a simple warm-up move does for your body, read our jumping jacks article. Finally, finish with two practice sprints at 70% effort.
Sample 4-Week Pre-Season Plan
| Day | Focus | Drills | Time |
|---|---|---|---|
| Monday | Speed and agility | Line sprints (3 rounds), defensive slides (5 rounds), closeouts (3 sets) | 30-35 min |
| Wednesday | Power and strength | Squat jumps, skater bounds, mountain climbers, battle ropes | 30 min |
| Friday | Game-like intervals | Full-court sprints (8-10), dribble circuit (5 rounds), easy jog | 35-40 min |
In week 1, use the easier version of each drill. In week 2, add one set or two reps to each drill. By week 3, move to the standard version. Finally, in week 4, use the harder versions only where your form stays clean. After that, take an easy week and repeat the cycle.
Add Strength Work Twice a Week
Conditioning works best alongside strength training. The CDC adult guidelines recommend muscle-strengthening activity on at least two days a week, plus at least 150 minutes of moderate activity. In addition, basic leg strength helps you handle sprints and landings.
Try goblet squats with 25-45 lb (11-20 kg), a dumbbell Bulgarian split squat, and a few isometric leg exercises. Do 2-3 sets of 8-12 reps, and stop each set with 1-2 reps left in reserve. If you prefer bodyweight options, our calisthenics exercises list is a good place to start.
Cool-Down and Cross-Training
After your session, walk until your breathing slows. Then stretch your calves, quads, hamstrings, and hip flexors for 20-30 seconds each. Drink water, and eat a normal meal within a couple of hours.
On off days, easy cross-training keeps your aerobic base growing without extra pounding. For example, a 30-minute rowing workout or an easy bike ride works well. Just keep the effort comfortable and the sessions short.
Safety Tips for Basketball Conditioning Drills
Good conditioning should challenge you, not injure you. Keep these points in mind.
- Warm up first: Cold muscles and stiff ankles are more likely to get hurt during sudden cuts and sprints.
- Progress slowly: Raise your total volume by small steps each week instead of big jumps. Researchers who reviewed training loads note that load varies by competition level, so your plan should fit your own level.
- Respect ankle history: Across all collegiate sports, ankle ligament sprains were the most common injury, about 15% of the total. If you have rolled an ankle before, add balance work and ask a professional about bracing or taping.
- Stop for sharp pain: Muscle burn is normal, but sharp joint pain, dizziness, or chest discomfort is not. Stop right away and get checked.
- Wear the right shoes: Court shoes with good grip and support help with fast cuts. Replace them when the tread is smooth or the cushioning feels flat.
- Check with a doctor first: If you have an injury, a heart or lung condition, or a long break from exercise, talk to a doctor or physical therapist before you begin.
FAQ
How do I get in basketball shape fast?
You can improve noticeably in a few weeks, but there is no shortcut. Train three days a week with sprints, slides, and jumps, and rest between sessions. Also add one easy aerobic day and sleep well. Rushing the plan often leads to sore legs or injury.
How often should I do basketball conditioning drills?
Most players do well with two to three sessions a week in the off-season. During the season, one or two shorter sessions are enough because practice and games add load. Leave at least one rest day between hard sprint sessions so your legs can recover.
How can I build basketball stamina at home?
Choose drills that need little space and no court, such as jump rope intervals, mountain climbers, squat jumps, skater bounds, and easy jogging. Stairs or a hill work well for sprints. Keep rest short on most drills, but long enough that your form stays clean.
How far does a basketball player run in a game?
A systematic review found that players cover about 3-4 miles (5-6 km) in 40-minute games. Most of that distance comes in short bursts rather than steady running. Because of this, interval-style drills with sprints, slides, and quick rests match the game better than long, slow runs.
Is running or sprinting better for basketball conditioning?
Both help, but they do different jobs. Easy running builds your aerobic base and speeds recovery, while sprinting builds speed and the ability to repeat hard efforts. Since the game is mostly short bursts, spend most of your hard work on sprint and interval drills.
Do basketball players need to do cardio?
Yes, but steady cardio alone is not enough. Players need an aerobic base for recovery, plus high-intensity work for game speed. A mix of one or two easy sessions and two interval sessions each week covers both. Then add skill work so your touch stays sharp when you are tired.
Conclusion
Strong basketball conditioning drills copy what the game asks of you: short sprints, quick slides, explosive jumps, and fast recovery. Start with the easier version of each drill, and keep your form clean. Then add a little more each week while pairing your conditioning with strength work and plenty of rest.
If you train three focused days a week for a month, you should notice steadier legs and effort late in games. Meanwhile, keep your shooting and ball-handling practice in the plan so your skills hold up when you are tired.
If you have pain, an injury, or a medical condition, check with a doctor or physical therapist before starting a new program. This article is for general information and is not a substitute for advice from a doctor or physical therapist.
